Automated authorization merge requests
Otterize integrates with GitLab projects to automatically generate merge requests as application access requirements change in the cluster. This enables platform administrators to continuously align security requirements with code updates.
In this tutorial, you will:
- Deploy a sample application.
- Create a Git repository to store ClientIntents manifests.
- Integrate a new Git repository into Otterize Cloud and install Otterize’s GitLab app.
- Modify application communication patterns, thereby triggering Otterize to create a merge request with the updated ClientIntents.
Prerequisites
CLI tools
You will need the following CLI tools to set up the repository and export ClientIntents:
After installation, log in with glab auth login and select your preferred method for authentication. Ensure your account has the necessary permissions to create new repositories.
Deploy Otterize
With a Kubernetes cluster ready, head over to Otterize Cloud and navigate to the integrations page to deploy Otterize. Follow the provided instructions to integrate your cluster.
Tutorial
Deploy the application
Use the following command to set up the tutorial namespace and deploy a sample application simulating a fantasy tabletop game. The application comprises several services responsible for different aspects of the game.
kubectl apply -n otterize-tutorial-gitlab -f https://docs.otterize.com/code-examples/gitlab/all.yaml
View Deployment
apiVersion: v1
kind: Namespace
metadata:
  name: otterize-tutorial-gitlab
---
apiVersion: apps/v1
kind: Deployment
metadata:
  name: adventure
spec:
  replicas: 1
  selector:
    matchLabels:
      app: adventure
  template:
    metadata:
      labels:
        app: adventure
    spec:
      containers:
        - name: github-tutorial
          image: otterize/github-tutorial:latest
          args: ["./adventure"]
---
apiVersion: apps/v1
kind: Deployment
metadata:
  name: character-generator
spec:
  selector:
    matchLabels:
      app: character-generator
  template:
    metadata:
      labels:
        app: character-generator
    spec:
      containers:
        - name: github-tutorial
          image: otterize/github-tutorial:latest
          args: ["./character-generator"]
          ports:
            - containerPort: 8080
---
apiVersion: apps/v1
kind: Deployment
metadata:
  name: quest-generator
spec:
  selector:
    matchLabels:
      app: quest-generator
  template:
    metadata:
      labels:
        app: quest-generator
    spec:
      containers:
        - name: github-tutorial
          image: otterize/github-tutorial:latest
          args: ["./quest-generator"]
          ports:
            - containerPort: 8080
---
apiVersion: apps/v1
kind: Deployment
metadata:
  name: monster-generator
spec:
  selector:
    matchLabels:
      app: monster-generator
  template:
    metadata:
      labels:
        app: monster-generator
    spec:
      containers:
        - name: github-tutorial
          image: otterize/github-tutorial:latest
          args: ["./monster-generator"]
          ports:
            - containerPort: 8080

---
apiVersion: apps/v1
kind: Deployment
metadata:
  name: treasure-generator
spec:
  selector:
    matchLabels:
      app: treasure-generator
  template:
    metadata:
      labels:
        app: treasure-generator
    spec:
      containers:
        - name: github-tutorial
          image: otterize/github-tutorial:latest
          args: ["./treasure-generator"]
          ports:
            - containerPort: 8080
---
apiVersion: v1
kind: Service
metadata:
  name: treasure-generator
spec:
  type: ClusterIP
  selector:
    app: treasure-generator
  ports:
    - name: http
      port: 8080
      targetPort: 8080
---
apiVersion: v1
kind: Service
metadata:
  name: character-generator
spec:
  type: ClusterIP
  selector:
    app: character-generator
  ports:
    - name: http
      port: 8080
      targetPort: 8080
---
apiVersion: v1
kind: Service
metadata:
  name: monster-generator
spec:
  type: ClusterIP
  selector:
    app: monster-generator
  ports:
    - name: http
      port: 8080
      targetPort: 8080
---
apiVersion: v1
kind: Service
metadata:
  name: quest-generator
spec:
  type: ClusterIP
  selector:
    app: quest-generator
  ports:
    - name: http
      port: 8080
      targetPort: 8080
---
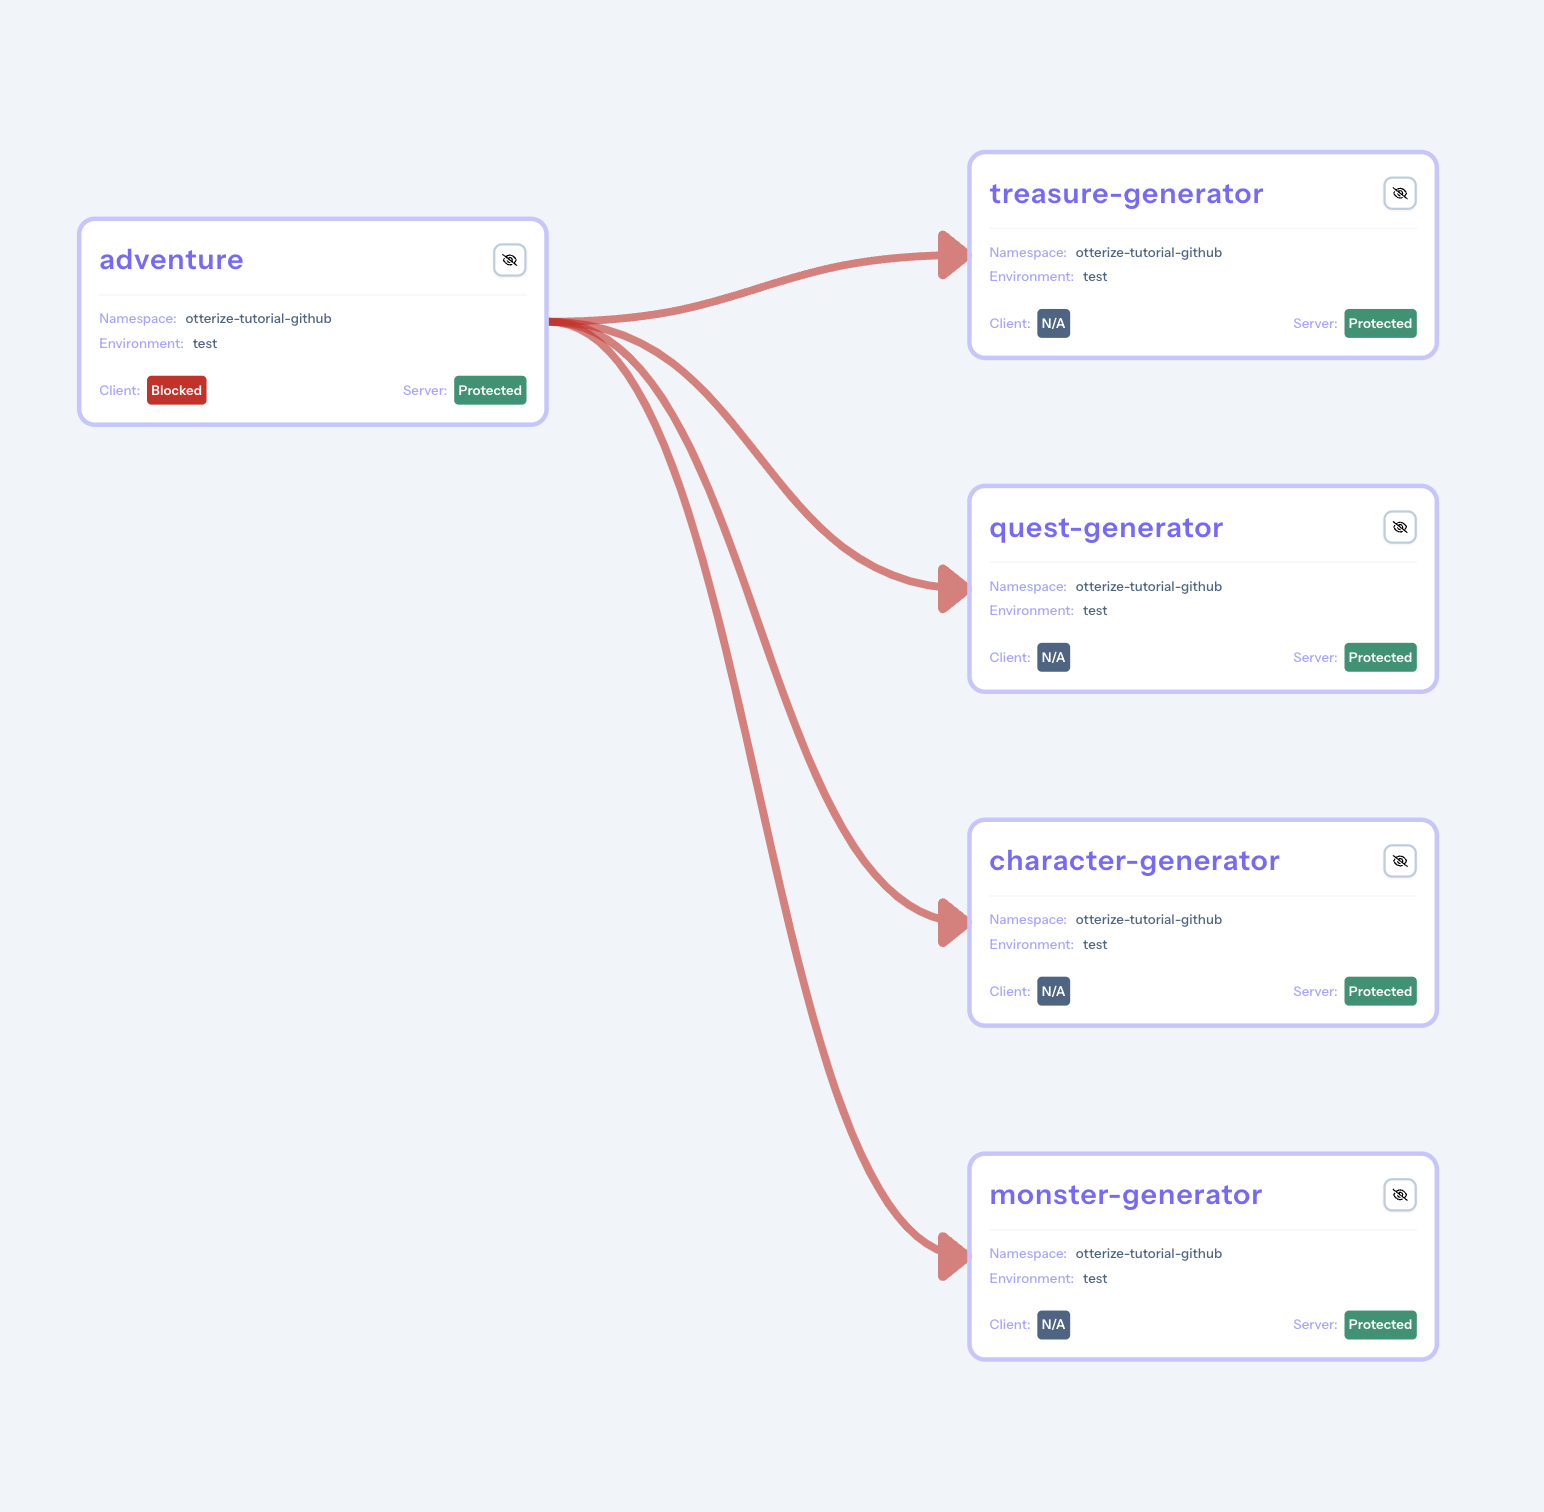
Once the deployment is complete, you can view the application's network map on Otterize Cloud. Turn on Assume default deny under network policies, as shown in the picture below.
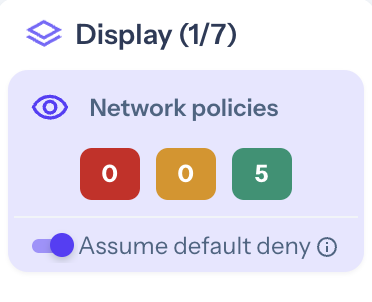
The connections will turn red.
Export and apply ClientIntents
Otterize can automatically generate application access rules based on the actual network traffic detected by the network-mapper.
Use the Otterize CLI tool to export the recommended intent definitions. You can also access these definitions directly from the Access Graph on Otterize Cloud.
mkdir otterize-tutorial-gitlab
cd otterize-tutorial-gitlab
mkdir intents
otterize network-mapper export -n otterize-tutorial-gitlab > ./intents/intents.yaml
View intents.yaml
apiVersion: k8s.otterize.com/v2beta1
kind: ClientIntents
metadata:
  name: adventure
  namespace: otterize-tutorial-gitlab
spec:
  workload:
    name: adventure
  targets:
    - service:
        name: character-generator
    - service:
        name: monster-generator
    - service:
        name: quest-generator
    - service:
        name: treasure-generator
Next, secure the application's pods by applying these intents to the cluster.
kubectl apply -n otterize-tutorial-gitlab -f ./intents/intents.yaml
In the Access Graph, the adventure client is now allowed to access the protected services.
Create the GitLab repository
To ensure versioned records, create a GitLab repository, stage and commit the applied intents. Then push the changes to the main branch.
Make sure you are in the otterize-tutorial-gitlab directory before executing the following commands.
export GLAB_USER=$(glab api user | jq -r '.username')
glab repo create otterize-tutorial-gitlab --private
git init
git add .
git commit -m "Initial Intents"
git branch -M main

# for HTTPS access, use git remote add origin https://gitlab.com/$GLAB_USER/otterize-tutorial-gitlab.git
git remote add origin [email protected]:$GLAB_USER/otterize-tutorial-gitlab.git
git push -u origin main
The repository can now be integrated to Otterize cloud to detect drifts in case of changes in traffic patterns.
Add the GitLab repository to Otterize Cloud
In this section, you will use the main branch to track ClientIntents changes. For production environments, we recommend monitoring traffic changes in other long-held branches, such as development, test, or staging. You can then deploy the new compiled ClientIntents in production with your preferred tool.
To add the repository to Otterize Cloud, navigate to the Integrations page.
- Click
Add Integration. - Select integration type:
GitLab. - Provide the name otterize-tutorial-gitlab as the integration.
- In the
On Triggersection, select your Kubernetes cluster, and leave the other options set to the predefined defaults. - In the
Open merge request onsection, select theProjectfield, and provide the owner and organization names in the form: <gitlab user name>/otterize-tutorial-gitlab. - Select the
Base Branchfield, and enter main. - Select the
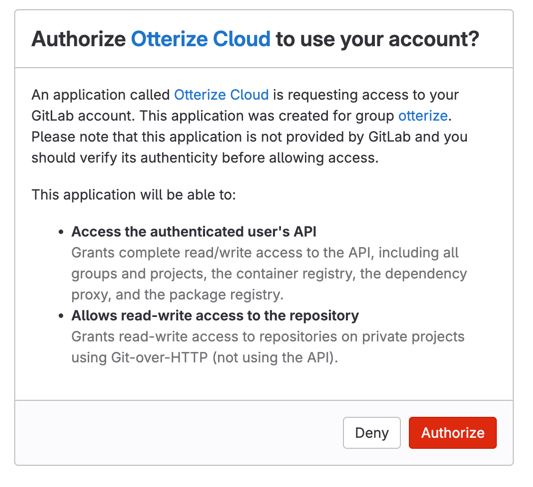
ClientIntents pathfield, and enterintents. It represents the relative path hosting the ClientIntents manifests. - Next, click the
Addbutton. This will redirect you to GitLab. If needed, clickAuthorizeto authorize the Otterize Cloud GitLab app to use your account.
The Otterize GitLab app is now installed in your account. Otterize will continuously monitor for differences between the ClientIntents definitions in your repository and the actual usage detected in your cluster. If drifts are detected, merge requests will be automatically opened to update the intent definitions and reflect the new usage behaviors.
You can learn more about GitLab configuration and how to use the Triggers on the Reference page
Update the application
In the original deployment, the game simulation's adventure pod utilized the monster-generator pod to fetch a random monster. An improved version, monster-generator-v2, has just been released and is ready for deployment.
kubectl apply -n otterize-tutorial-gitlab -f https://docs.otterize.com/code-examples/gitlab/all-v2.yaml
Once the pod is deployed, check the logs of the adventure pod using the command below. It should reflect the new application version.
kubectl logs -f -n otterize-tutorial-gitlab deploy/adventure
Here is an example of the expected output.
****************************************************
Let another great adventure begin!
****************************************************
Using MonsterV2 generated monster
Welcome to your adventure, Elf Wizard!
Your quest: Escort the Caravan
Beware, a wild Elephant appears!
The Elephant has 90 hit points, Our Elf has 244 points.
---------------------------------------------
Elf lands a 19 point strike against the smelly Beast!
Elephant hits our strong Elf doing 20 point of damage.
The Elephant has 71 hit points, Our Elf has 224 points.
monster-generator-v2 is now displayed in Otterize Cloud Access Graph.

Check for a new merge request
Following the introduction of a new application component, the network-mapper has detected a new connection and updated Otterize cloud. This update has triggered the GitLab integration, resulting in the submission of a new merge request.
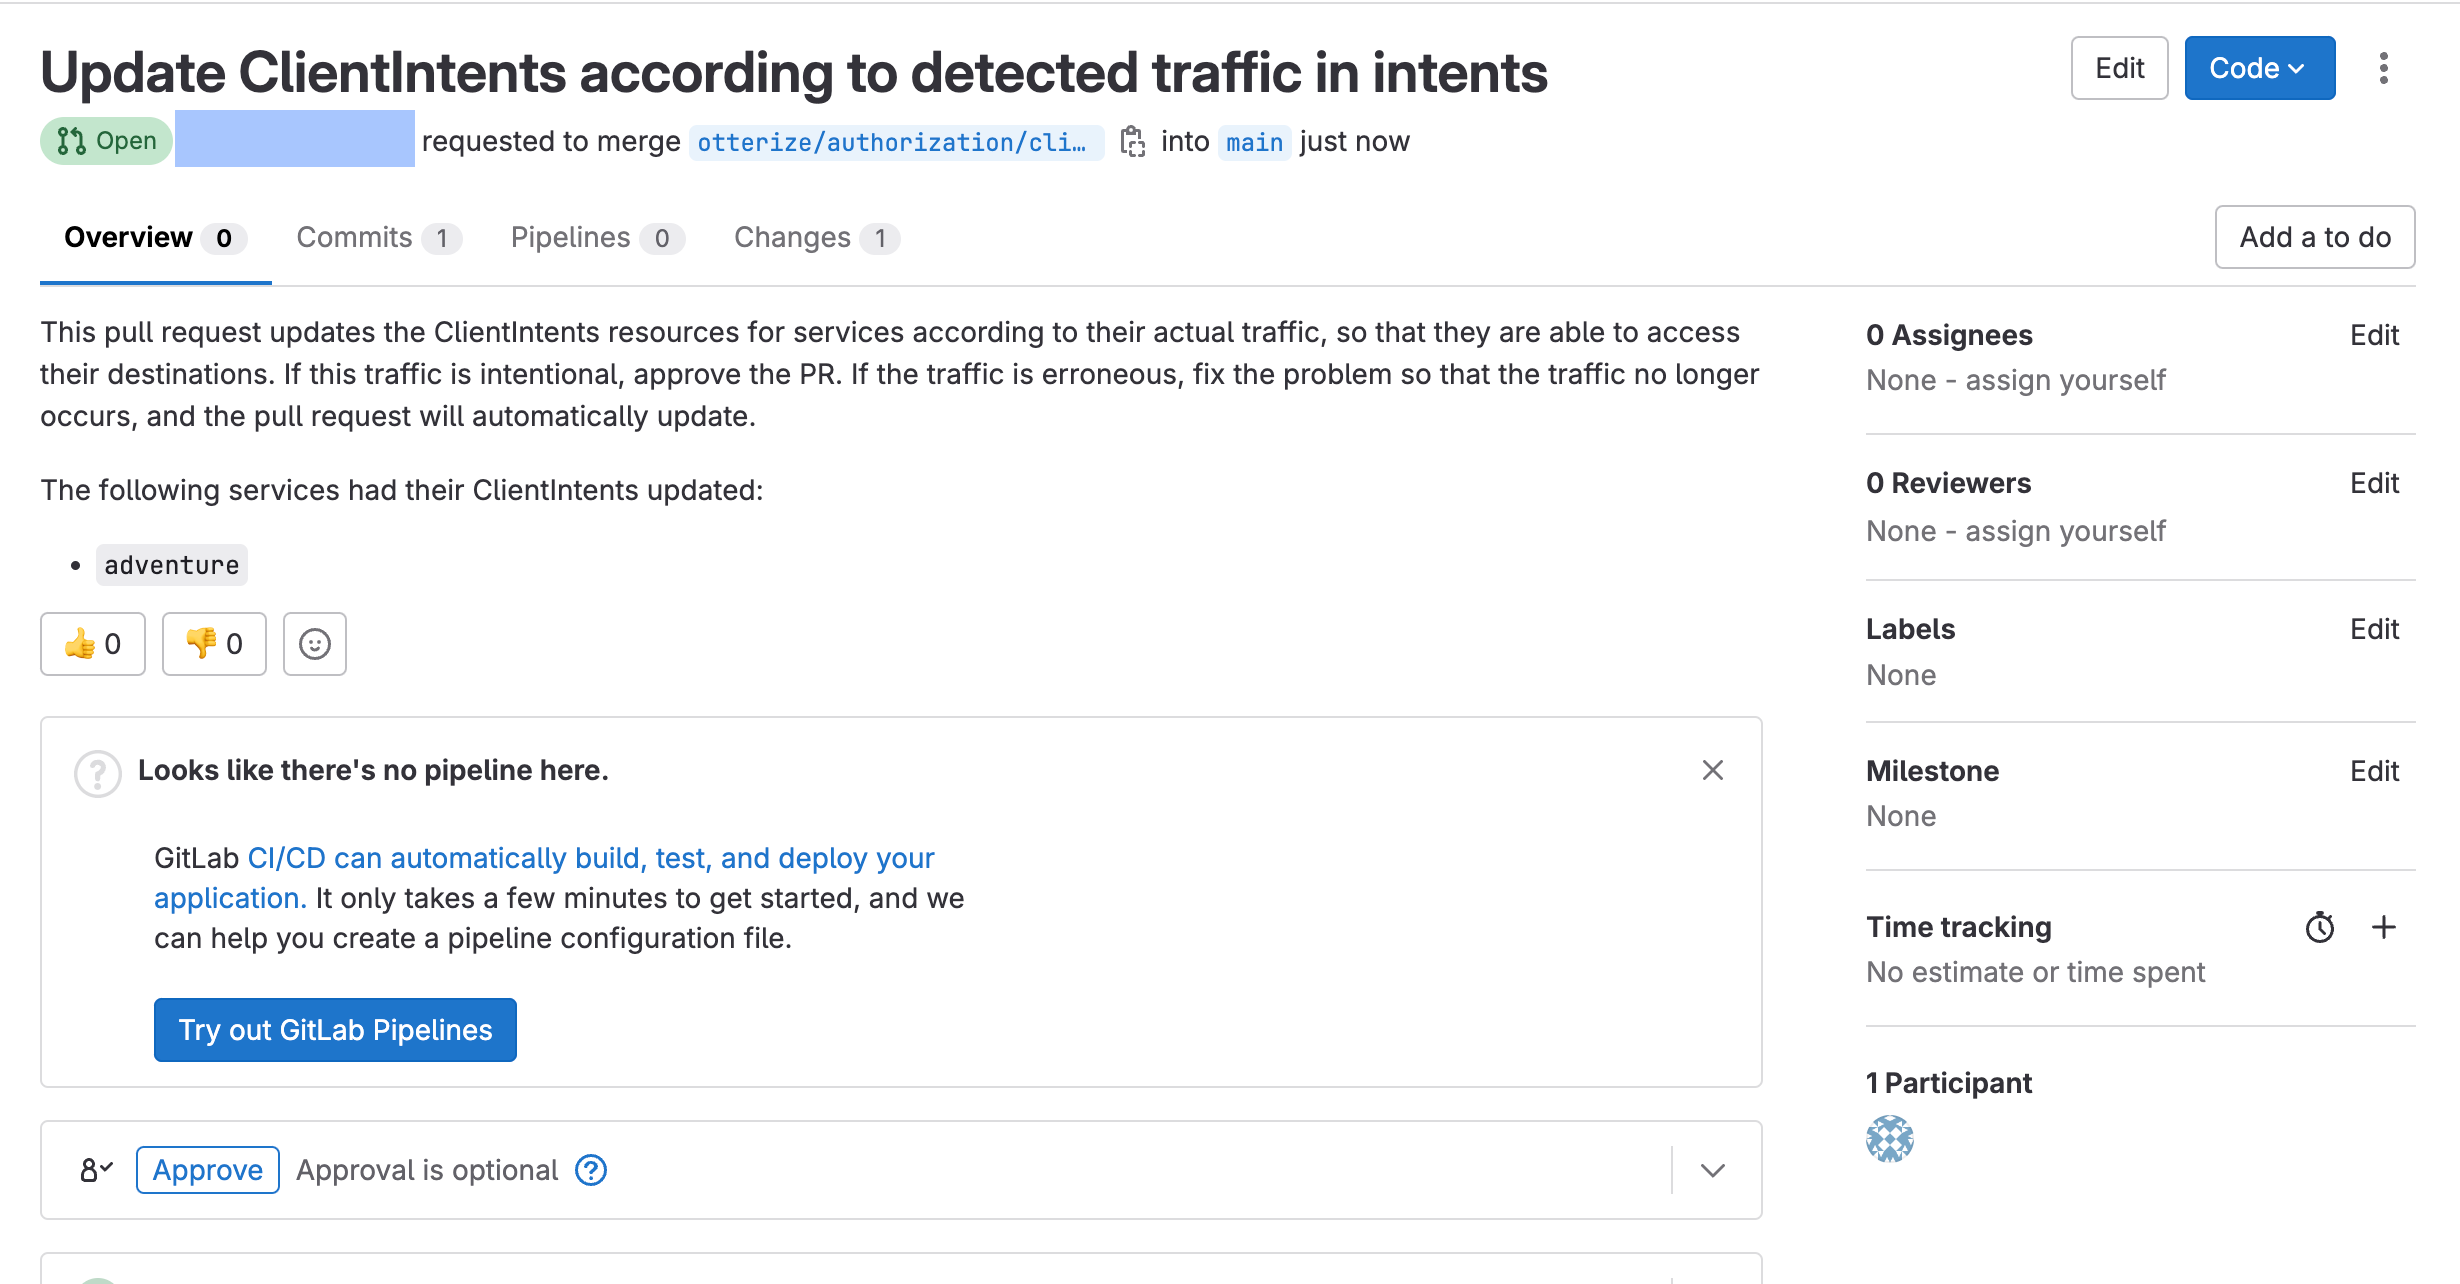
Finally, merge the merge request and deploy the updated ClientIntents manifest.
glab mr merge 1 -y
kubectl apply -n otterize-tutorial-gitlab -f ./intents/intents.yaml
Teardown
Delete the application.
kubectl delete namespace otterize-tutorial-gitlab
Delete the Git repository with the following command:
glab repo delete $GLAB_USER/otterize-tutorial-gitlab
If your API doesn't grant delete privileges, navigate to the repository's Settings section to delete it manually.
Finally, you can delete your local copy of the repository.
cd ..
rm -rf otterize-tutorial-gitlab